
Aluminum windows and doors are widely used in modern buildings due to their advantages such as lightness, durability, and beauty. However, during the installation process, the selection of accessories and construction details are often easily overlooked, resulting in poor use of doors and windows, poor sealing, and even affecting the service life. This article will start with the common mistakes in the installation of aluminum door and window accessories, and provide practical pitfall avoidance suggestions to help construction workers and owners avoid pitfalls and ensure the quality of door and window installation.
- Improper selection of hardware accessories
- Common mistakes
- Using inferior hardware: To save costs, some construction parties choose cheap hinges and locks, which result in poor opening and closing, and easy rust or breakage.
- Accessories do not match the door and window profiles: For example, the hinges are not able to bear enough weight, which causes large-sized doors and windows to sag and deform.
- Tips for avoiding pitfalls
- Choose regular brand hardware to ensure corrosion resistance and load-bearing capacity.
- Match hinges, slide rails, and other accessories of corresponding specifications according to the size and weight of doors and windows.
- Common mistakes
- Imprecise installation position
- Improper positioning of hinges/sliding supports
- Error manifestations: sagging of doors and windows, stuck switches.
- Causes: hole offset, screws not tightened or insufficient.
- Avoid pitfalls: Fix each hinge with at least 4 stainless steel screws to prevent loosening.
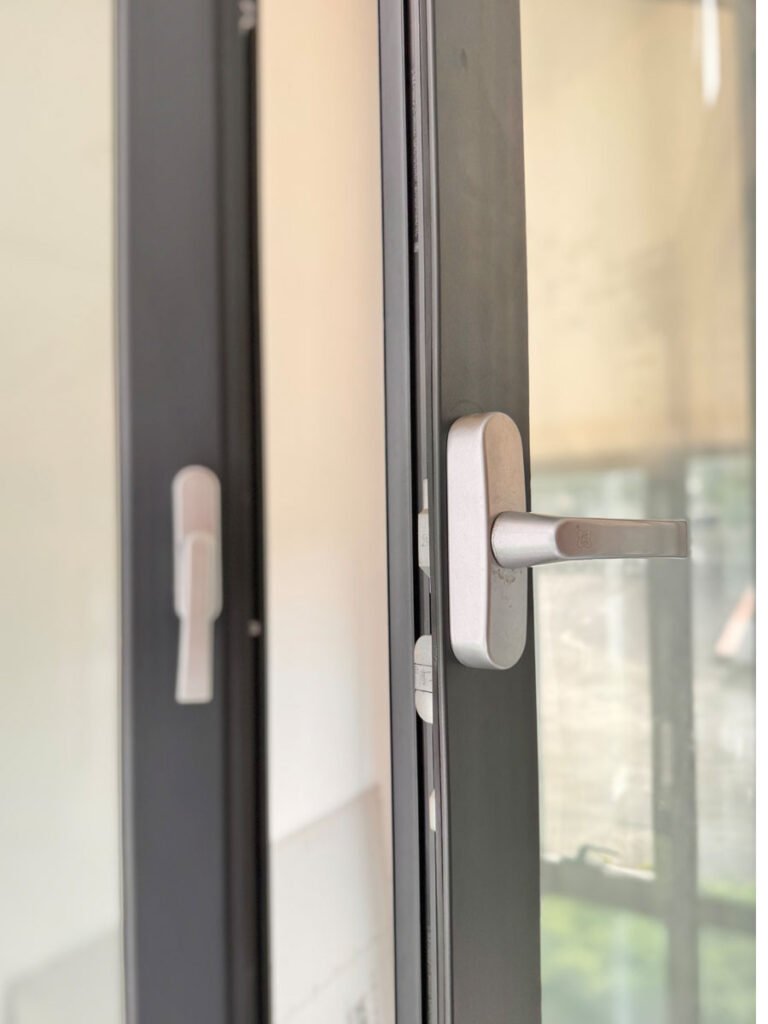
- The lock is not aligned with the lock point
- Error manifestation: loose lock, loose handle.
- Cause: The lock seat installation position is deviated or the height does not match.
- Avoid pitfalls: Mark the lock point position with a marker before installation, and repeatedly debug and fix after closing the door and window. Choose a lock that matches the profile notch to avoid forced installation.
- Improper positioning of hinges/sliding supports
- Sealing strip installation problems
- Improper splicing of sealing strips
- Error manifestations: air leakage, water leakage, poor sound insulation effect.
- Cause: Direct cutting and docking (not beveled), not pressed tightly.
- Avoid pits: Use 45° bevel splicing and use glue to reinforce the joints. After installation, check whether it is fully embedded in the groove, without warping or wrinkles.
- Wrong material selection
- Error manifestations: aging and cracking, loss of elasticity.
- Avoid pits: Use EPDM sealing strips for better weather resistance.
- Improper splicing of sealing strips
- Negligence of drainage system
- No drainage holes or wrong position
- Error manifestations: rainwater backflow, water accumulation inside the profile.
- Avoid pits: Drill drainage holes at the bottom of the window frame according to the standard (spacing ≤ 60cm), avoiding the hinge position. Install drainage hole covers to prevent mosquitoes from entering.
- Drain hole blockage
- Reason: Aluminum chips or sealant residues were not cleaned during installation.
- Avoid pits: Use an air gun to blow the drainage channel after installation.
- No drainage holes or wrong position
- Improper use of screws
- Self-tapping screws are driven directly into the profile
- Error manifestations: profile deformation, screw thread slippage.
- Avoid pits: Pre-drill holes (hole diameter is 70% of the screw diameter), and then fix with stainless steel screws. Avoid screwing on the insulation strip!
- The screws are too long or too short
- Error manifestations: penetrating the profile or not fixed firmly.
- Avoid pits: The length of the screw should penetrate 2/3 of the profile wall thickness (for example wall thickness 1.4mm, choose a screw length of 10-12mm).
- Self-tapping screws are driven directly into the profile
- Other details to avoid pitfalls
- Fix the door and window frames directly without leveling
- Use a level to calibrate verticality and horizontality, with an error of ≤2mm/m.
- Ignore the expansion particles
- When installed on concrete walls, nylon expansion particles must be used to enhance fixation.
- Glue instead of sealant
- Refuse to use glass glue instead of weather-resistant sealant (silicone structural glue is recommended).
- Items that must be checked after installation
- Open and close the door several times to check for abnormal sounds and jams.
- The water splashing test verifies drainage performance.
- Test the sealing performance with A4 paper: Pull out the paper after closing the door and window, and the resistance should be uniform.
- The sealing, durability, and user experience of aluminum doors and windows can be greatly improved through standardized installation and detail control. It is recommended to choose an experienced professional team for construction and keep acceptance records.
- Fix the door and window frames directly without leveling
Conclusion
The installation quality of aluminum door and window accessories directly affects the user experience and durability. By avoiding common problems such as improper hardware selection, positioning deviation, and insufficient sealing, and strictly following the standardized construction process, the performance and life of doors and windows can be greatly improved. Both the owner and the construction party should pay attention to details and ensure that each step is installed in place to create a safe, comfortable, and energy-saving door and window system.